Receive Notifications, Search and Share Using the Tableau App for Slack
The Tableau App for Slack lets you work and collaborate right where you work in Slack. In Tableau 2023.1 or later, you can search for views and workbooks, and easily access your favourite and recently viewed Tableau content from the Tableau App for Slack. With the Tableau App for Slack, you can also see snapshots of visualisations, with links back to your Tableau site for further exploration. Some features (such as sharing and searching Tableau content from Slack) aren’t yet available in Tableau Server. Currently, Tableau Server users can receive notifications.
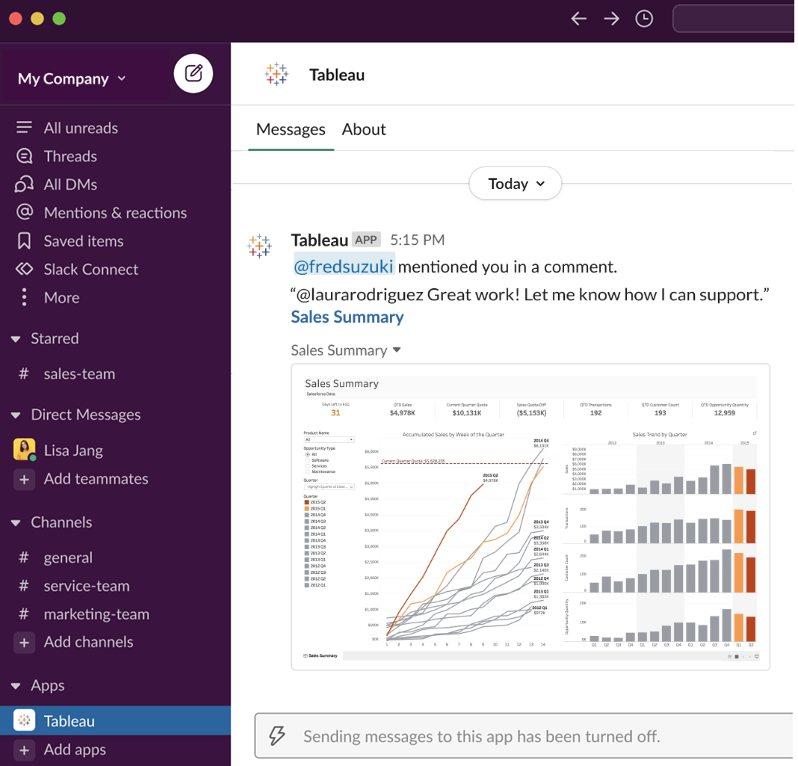
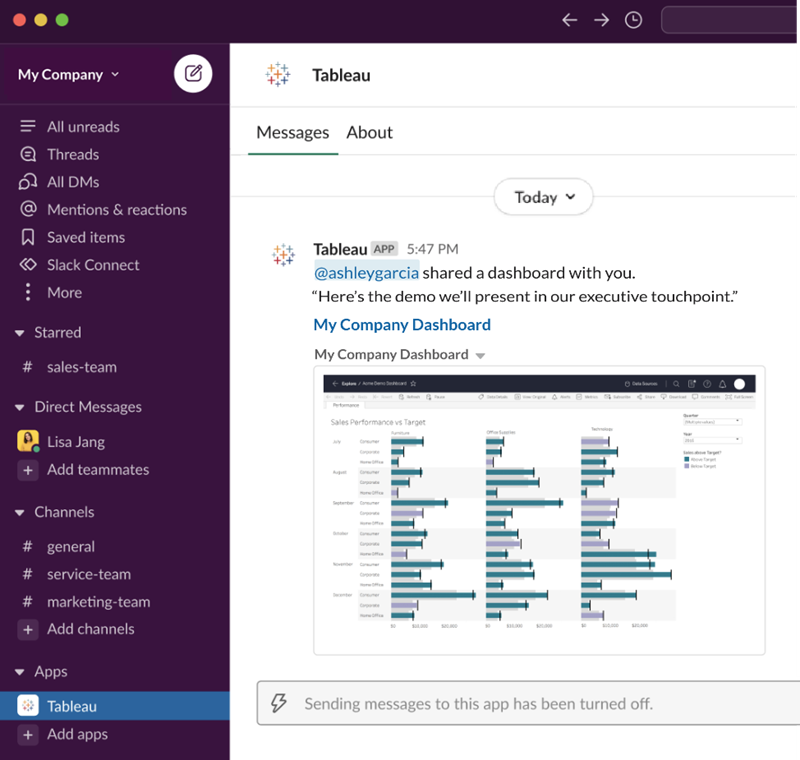
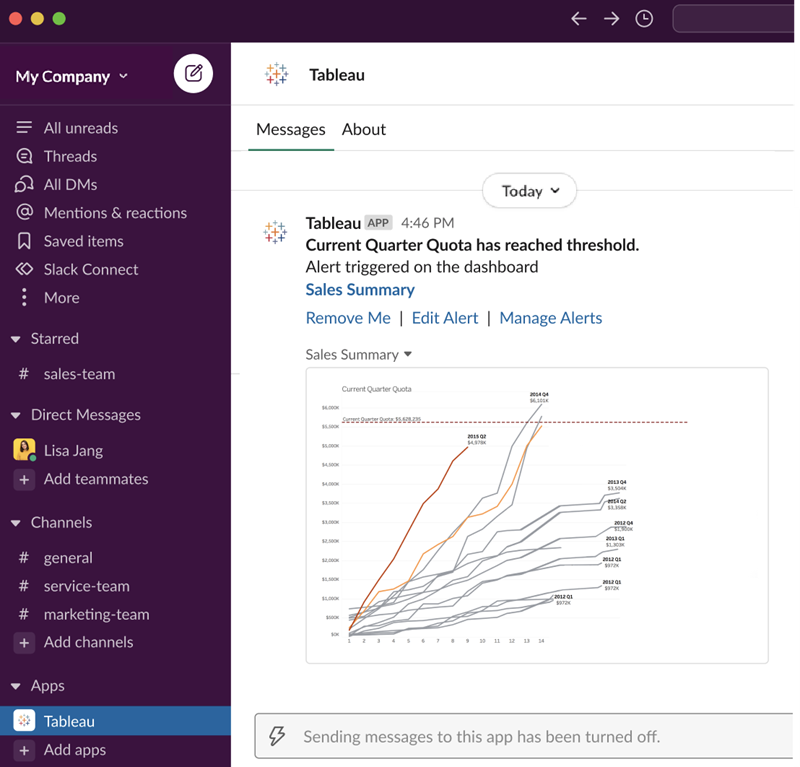
In Tableau 2021.3 and later, you can get Tableau notifications in Slack for data-driven alerts, sharing activity and comment mentions. If the notification contains a view or workbook you have access to, the notification will also contain a visual snapshot.
Administrators can connect their Tableau site to a Slack workspace to enable the Tableau App for Slack for their entire organisation. For more information, see "Integrate Tableau with a Slack Workspace" in the Tableau Cloud or Tableau Server help.
After your Tableau admin connects your Tableau site to a Slack workspace:
- Add the Tableau App for Slack.
- Select Connect to Tableau.
- Log in to your Tableau site.
- Authorise the app by choosing Allow.
Note: For information about privacy, see the Privacy Policy.
Search, share and access recents and favourites from Slack
From the Tableau App for Slack Home tab, you can search for views and workbooks on your Tableau Cloudsite.
After you’ve found the Tableau content you’re looking for, select the name of the Tableau content to open it directly in Tableau or select Share to send the content to an individual or Slack channel. You can also write a custom message to provide context about the Tableau content you’re sharing.

Choose Share with Snapshot to include a preview (Slack link unfurling) of the Tableau content in your message. You can share a snapshot if the Tableau content doesn't contain filters that restrict data access (for example, row-level security). The snapshot is visible to all people you share it with, regardless of their access level.

And without leaving Slack, you can access recently viewed Tableau content and your Tableau favourites. From the Tableau App for Slack Home tab, you see the five Tableau views or workbooks you visited most recently. You can also access five of your favourite Tableau views or workbooks.
Select the name of the Tableau view or workbook to open it directly in Tableau, or select the more actions menu (...) to share favourite or recently viewed Tableau content.
Receive Tableau notifications in Slack
Comments
Get notified when you're @mentioned in a comment to keep the conversation going. For more information, see Comment on Views.

Share
See when a teammate sends a Tableau asset your way, including views, workbooks and more. For more information about sharing, see Share Web Content.

Data-driven Alerts
You can specify a threshold for your data and be alerted when it's met. For more information, see Send Data-Driven Alerts from Tableau Cloud or Tableau Server.

Manage Tableau notifications for Slack
Your Tableau site admin can turn on or off all notifications across the site. Tableau admins and Slack workspace admins integrate your Tableau site with Slack, and control whether site users can receive notifications. If it's enabled and your Tableau site administrator allows notifications, all site users can receive notifications in Slack through the Tableau App for Slack. Sometimes notification preferences aren't available because the site has other settings configured that affect notifications.
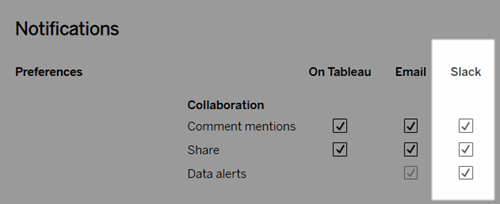
To control which notifications appear in your Slack workspace, or to turn off Slack notifications, at the top of a page, click your profile image or initials and then select My Account Settings.

Under Notifications, select or clear the tick boxes under Slack for comment mentions, shares and data alerts.

Select Save Changes.
For more information, see Change notification settings in Manage Your Account Settings.
