Get Started
🕐 3 min read
Create a web data connector when you want to connect to a web data source from Tableau. A web data connector is a packaged connector containing web elements. It connects to web data (for example, by means of a REST API), converts the data to a JSON format, and passes the data to Tableau.
- This site is for version 3.0 of the Web Data Connector (WDC) SDK, which is compatible only with Tableau 2022.3 and later. Version 2.x of the WDC SDK will be deprecated in Tableau 2023.1 and eventually retired. We will still support WDC 2.x until its last compatible version of Tableau goes End of Life and is no longer supported.
- The TACO Toolkit, which helps you build your connectors, is only available for Windows and macOS. Linux is not supported.
Build a sample web data connector
This section guides you through the process of setting up your development environment and building a sample web data connector in the simulator.
To best understand what a web data connector is, we recommend that you build a sample connector using a boilerplate included in the Taco Toolkit. To build a sample connector, perform the following tasks.
- Make sure you have the following dependencies installed:
OS Notes:
- If you're using Windows and installing Node.js, we recommend that you click the option to install the Python and Visual Studio Build Tools.
- For macOS, you must install XCode Command Line Tools. If you don't already have it installed, you can install XCode Command Line Tools standalone by running `xcode-select --install` in Terminal or, alternatively, install the [full version of XCode](https://developer.apple.com/xcode/).
-
Install the TACO Toolkit by opening your terminal and typing the following command:
npm install -g @tableau/taco-toolkit@tableau-<version>Where
versionis your version of Tableau. For example:npm install -g @tableau/taco-toolkit@tableau-2024.1This command installs the toolkit globally. The Taco Toolkit includes:
- Taco CLI
- Web data connector boilerplate connector
- Web data connector 3.0 SDK
- Various utilities for building, packaging, and signing your connectors
-
Verify the install by typing the following:
tacoThis command returns the CLI version.
-
Create a parent directory for your connectors and navigate to that directory.
-
Enter the following command to create the connector:
taco create my-first-connector --boilerplate earthquake-dataThis creates a directory with the earthquake data boilerplate code, which is included with the toolkit.
- Change directories to the myConnector directory.
cd my-first-connector -
Build the connector by entering the following command:
taco buildThis command clears any previous or existing build caches, then installs the dependencies, then builds the frontend code and the backend code (handlers), then copies the connector.json file (the configuration file).
- Create the Taco file
taco packThis creates the .taco file
-
Type the following command to run the connector:
taco run DesktopThis starts Tableau Desktop with the appropriate command-line parameters pointing it to your newly created connector.
-
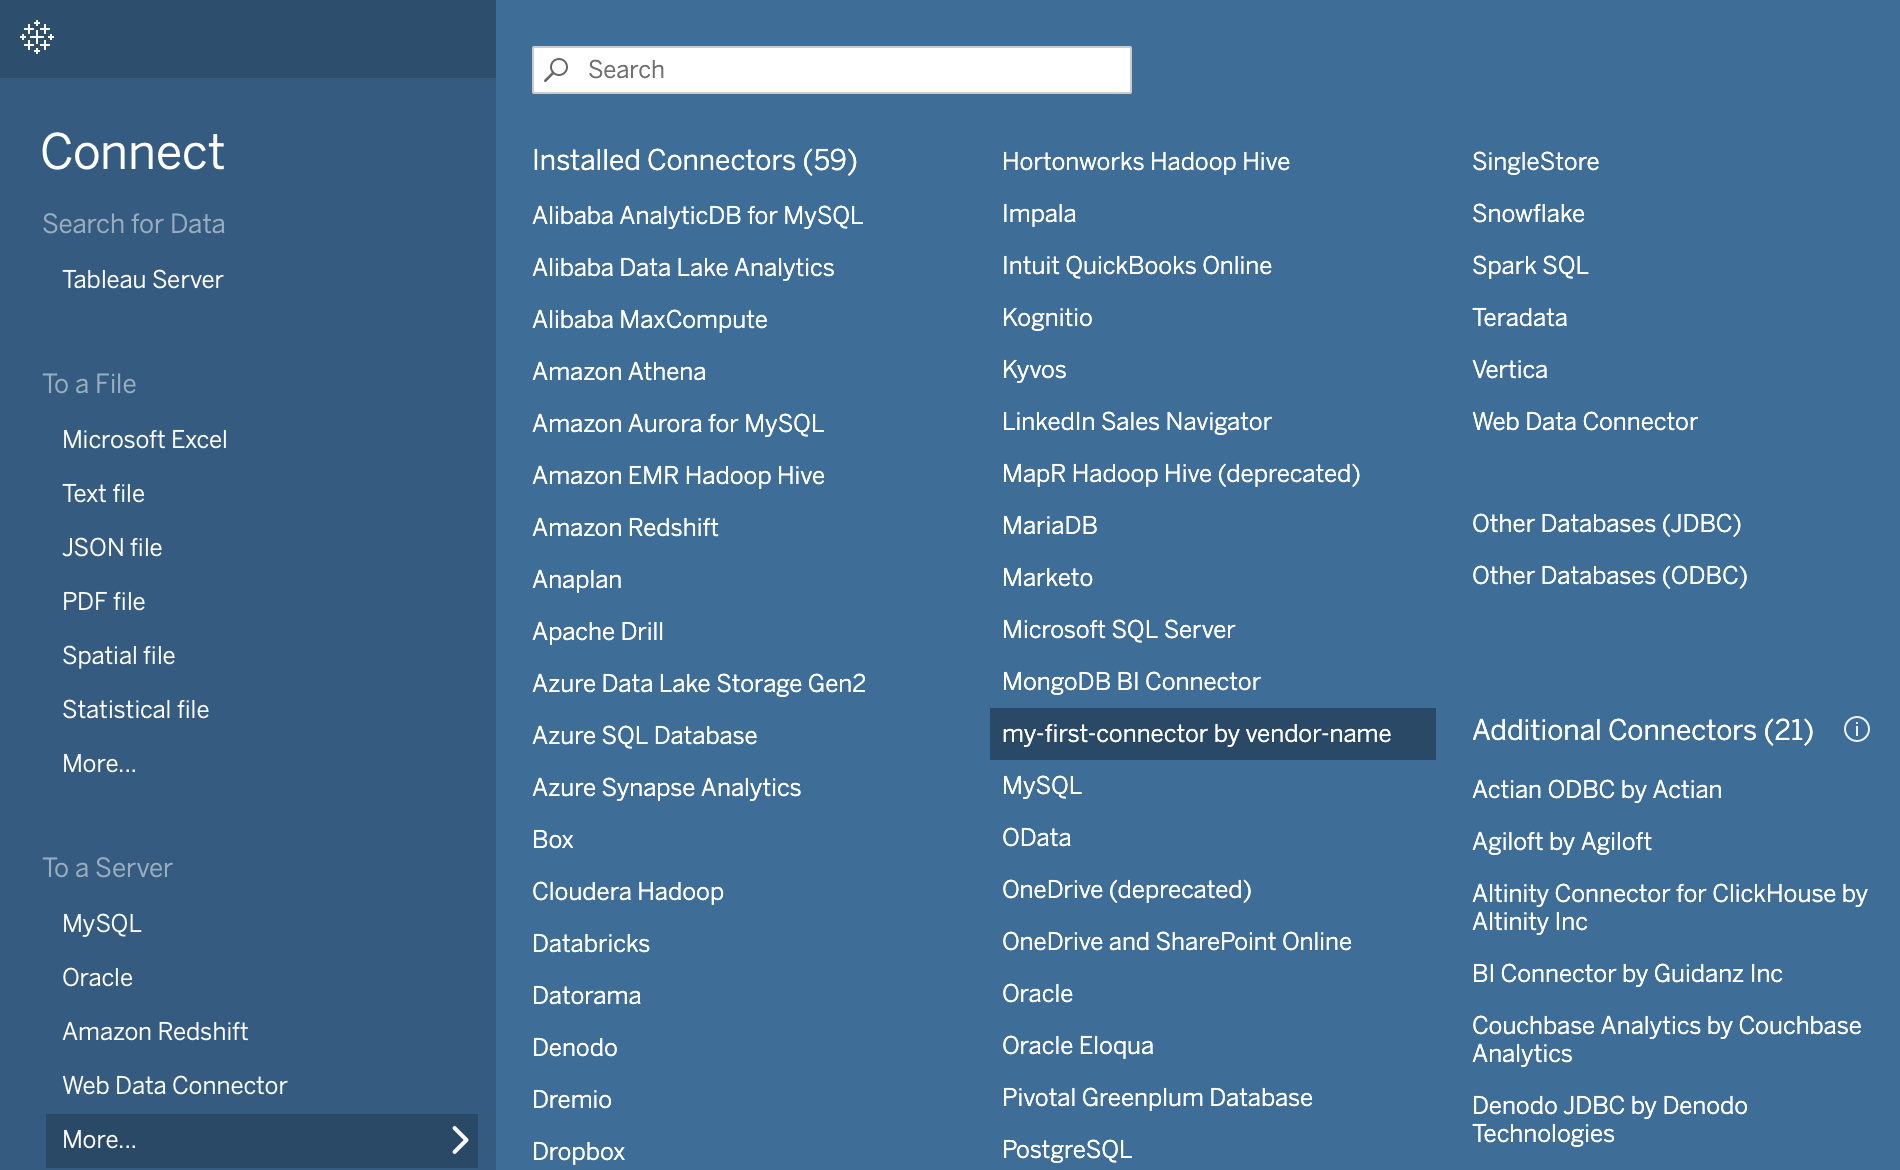
Launch the connector in Tableau Desktop. You’ll see a link to your connector in Tableau’s list of connectors, my-first-connector by vendor-name. To see your dialog, click the link.

Tableau loads your default system browser to show the connector user interface (UI). This is the interactive phase.
- Click the Get Earthquake Data button. Clicking this button closes the browser pane. A Tableau worksheet opens with your connected data.
What’s next?
You can customize your connector with your own information. Or, if you’re ready to make your own connector, you can use one the connector boilerplates to make your own.