Jump-start Installation
This topic provides all of the steps required to perform a basic, quick-start installation of Tableau Server. The purpose of the configuration described here is to provide the quickest, simplest path to a Tableau Server installation. Use this procedure as practice, to try out the Tableau Server installation, management, and user experience before your actual server deployment.
Important: Do not use this procedure as a stand-alone resource for deploying Tableau Server into a production environment. To deploy Tableau Server into a production environment, refer to the content at Install and Configure Tableau Server.
The procedures in this topic will install an instance of Tableau Server for Windows using a local identity store.
Before you begin
Review the topic, Before you install.... The procedure here assumes that you have installed Windows on conforming hardware and according to the environmental requirements specified in that topic.
Note that the computer you install on must meet the minimum hardware requirements specified in Minimum Hardware Requirements and Recommendations for Tableau Server. The setup program will not install Tableau Server onto systems that do not meet the minimum hardware requirements.
Step 1: Install Tableau Server and start Tableau Services Manager
-
Double-click the installation file.
-
Follow the on-screen instructions to complete Setup and install the application.
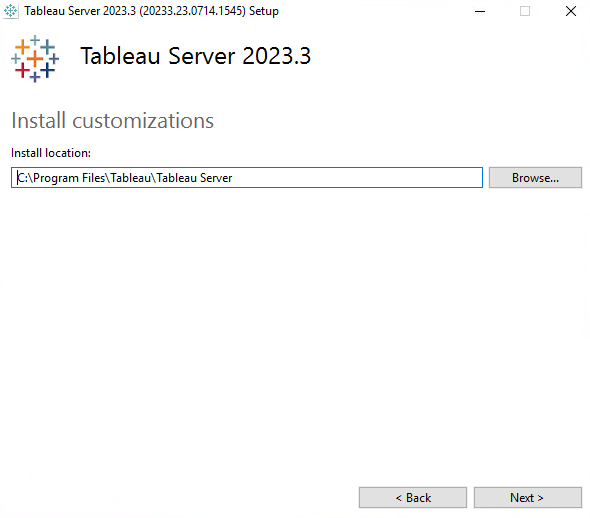
The default installation path is
C:\Program Files\Tableau\Tableau Server. You can choose a different location, including a different drive, either by browsing to or typing in a new path.If you are prompted by Windows Defender Firewall, click Allow access. You may need to do this multiple times for the installation to complete.
-
Click Next.
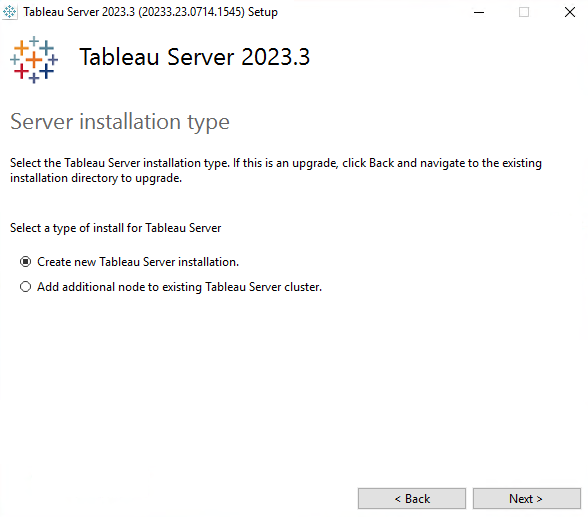
On the Server installation type page, you can specify whether you are installing the first node of a Server installation, or additional nodes in a multi-node installation. You do not need to change this from the default (Create new Tableau Server installation.) unless you are installing a multi-node Tableau Server. If you are installing a multi-node Tableau Server, see Install and Configure Additional Nodes.
-
Click Next.
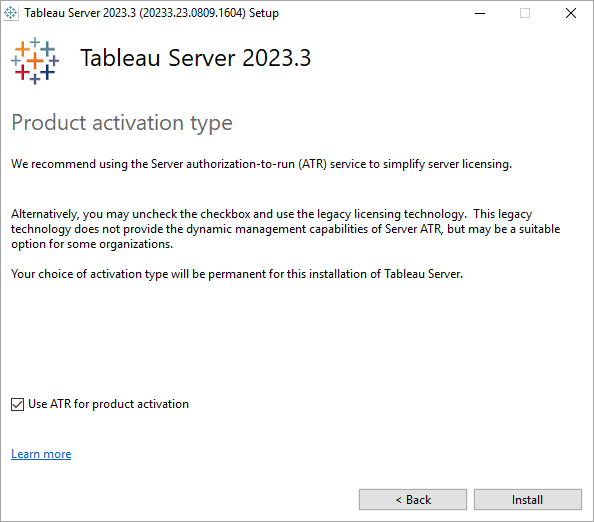
On the Product Activation Type page, select whether you want to use the authorization-to-run (ATR) service to activate Tableau Server, and then click Install.
-
After the installation completes, click Finish. Setup will then open the TSM configuration web page on the computer where you are installing Tableau Server.
Step 2: Activate and register Tableau Server
Before you can configure Tableau Server you must activate a license and register. For more details, see Activate and Register Tableau Server.
-
On the Activate page, enter or paste your product key and click Activate Product Key.
After your product key is activated, it appears under Activated Product Keys.

-
To activate another product key, enter the new product key, and then click Activate Product Key. After your product key is activated, it appears under Activated Product Keys.
-
When you’re finished activating product keys, click Next.
Note: If the product keys you have activated don’t have the necessary capacity, such as not enough cores or only a Viewer role product key, Tableau Services Manager displays the Insufficient licenses applied dialog box. Click Activate Another Product Key to add another product key and increase capacity on your Tableau Server installation.

-
On the Register page, enter your information into the fields and click Register.

Step 3: Configure local identity store
You must configure the identity store settings. This procedure simplifies installation by setting the identity store to local authentication. For more details on customizing these defaults, see Configure Initial Node Settings.
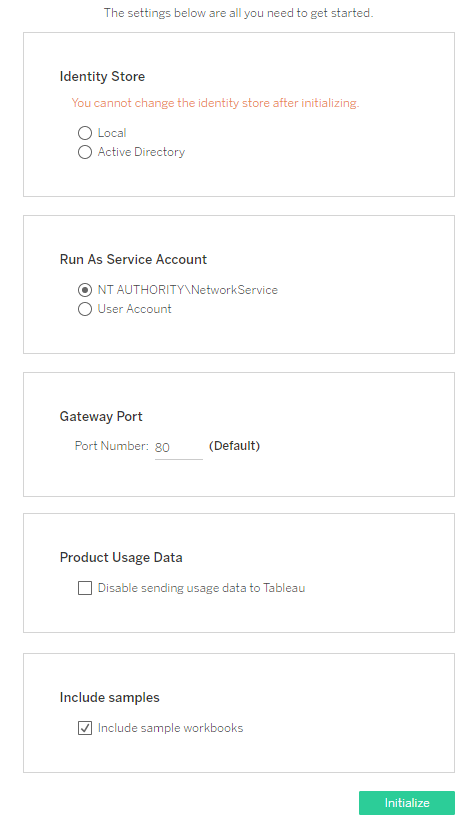
After you have configured the options on this page, click Initialize.
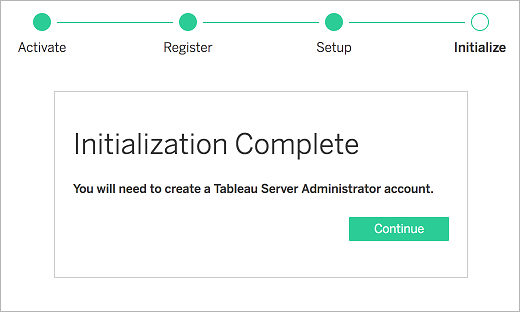
The initialization process can take a while. When initialization is complete the following page is displayed:
Step 4: Add administrator account
The final step in activating Tableau Server is to add the initial administrator account. The administrator will have all access to the server including the ability to manage users, groups, and projects. More details are at Add an Administrator Account.
After Tableau Server is finished initializing, the installation program will display a page to create the Tableau Server administrator.
Specify a name and password that you want to use for the administrative account.
If you are installing remotely, then you must sign in to TSM on the physical computer where Tableau Server is installing, or you can connect remotely to the computer and run the tabcmd initialuser command from a shell.
Use the administrator account that you created in this step to access the Tableau Server admin web pages. See Sign in to the Tableau Server Admin Area.
Step 5: Validate your installation
This is an optional step, but a good way to validate that Tableau Server is installed and running properly is to look at the built-in Administrative Views in Tableau Server.
