Create Relative Date Filters
Relative date filters dynamically update to show a time period relative to when you open the view, such as the current week, the year to date, or the past 10 days. Relative date filters make it easy to create views that always show the most recent data.
Step 1: Drag a date field to the filter shelf
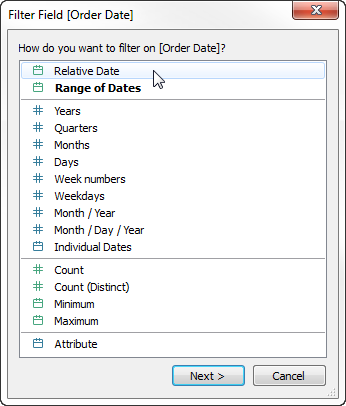
Drag a date field from the Data pane to the Filters shelf. In the Filter Field dialog box, select Relative Date, and then select Next.
Step 2: Select a time unit
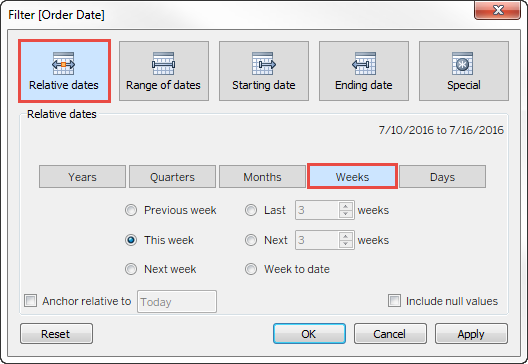
In the Filter dialog box, select Relative dates, and then select the unit of time for the filter. For example, to show only the last three weeks, select Weeks.
Step 3: Define the date period
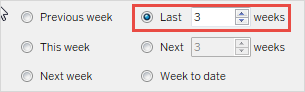
Use the options in the lower part of the Filter dialog box to specify which date period to include in the view. For example, to show the last three weeks, select Last, and then enter the number 3.
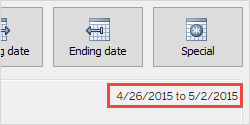
The specific range of time that you have selected is displayed in the upper right of the Filter dialog box.
Note: "Last" date periods include the complete current unit of time, even if some dates haven't occurred yet. For example, if you select the last month and the current date is January 7th, Tableau will display dates for January 1st through January 31st.
Step 4: Watch the view update
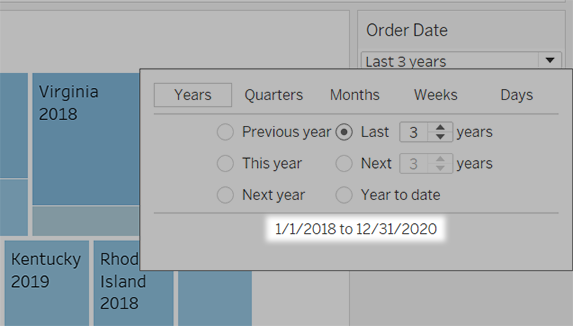
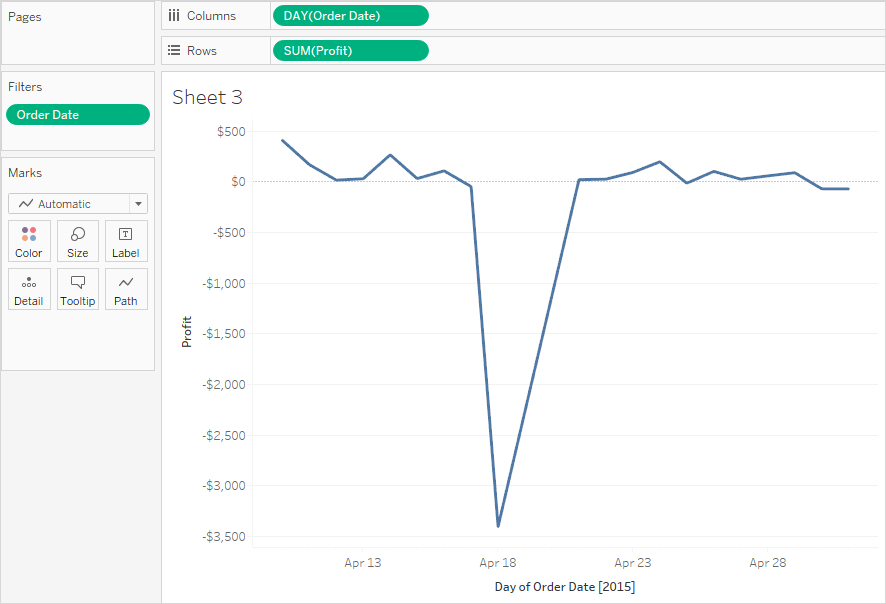
The view will now update to always show the relative date range you've chosen.
Once created, you can show relative date filters in the view as cards. See Display interactive filters in the view. To confirm the specific date range, users can select the menu on the filter card: