Format Dashboard Objects
You can format your dashboard objects to create a modern, polished look for your dashboards. Use padding to add white space in and around your dashboard objects. Use borders and background shading to help distinguish and group related items, making your dashboard easier to navigate. Starting in Tableau 2026.1, you can use the corner radius setting to apply rounded corners to individual items like worksheets, text boxes, and images.
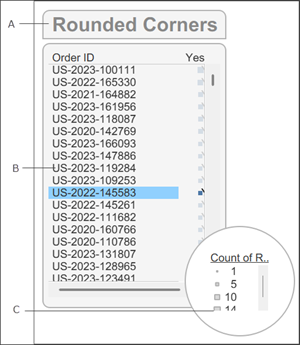
A dashboard object with rounded corners applied.
A: Top left and top right corner radius set to 12 and bottom left and bottom right corner radius set to 0. B: All corners equal and set to 12. C: All corners equal and set to 300.

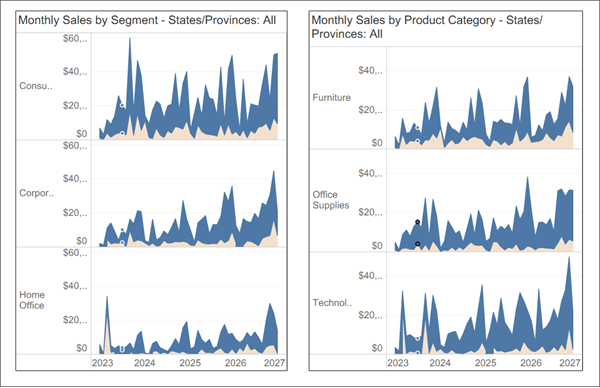
A dashboard object with border and padding styling.
A: Outer padding, B: blue border, and C: inner padding with a light blue background (shading) applied.
Round the corners of a dashboard item
-
Open a dashboard in Tableau. If you're using Tableau Desktop, make sure you're using Tableau version 2026.1 or later.
-
Select the dashboard object that you want to format.
-
In the Layout pane, locate the Corner Radius settings.
-
To give all corners the same rounding, select All corners equal.
-
To specify different values for each corner, deselect All corners equal and enter individual values for the top-left, top-right, bottom-left, and bottom-right corners.

Tableau clips the content of the object so it stays within the rounded corners, ensuring a clean appearance.
Expand the dropdown menu and enter a value for the corner radius or use the arrows to increase or decrease the values.
Design tips for rounded corners
-
Keep it simple: For most dashboards, a consistent moderate corner radius across all objects looks best.
-
Check your containers: Items within vertical or horizontal containers won't get clipped by the container's rounded corners. Apply rounding directly to the individual items inside the container.
-
Add inner padding to clipped content: If the rounded corners cause too much content to be clipped, you can add inner padding to restore some space.
-
Prioritize dashboard-level styling: Use the Dashboard formatting menu rather than the object-level styling. This ensures a cleaner, more unified look across your entire layout.
-
Verify your exports: When you export your dashboard to a PDF or image, check to make sure the rounded corners match what you see in the browser or on your desktop.
Add padding to a dashboard item
Outer Padding creates space between dashboard objects to help visually separate your visualizations and reduce dashboard clutter.
Inner Padding creates space between the container's border and the visualization. This helps ensure that marks are not cut off or obscured by the border.
-
Open a dashboard in Tableau.
-
Select the dashboard object that you want to modify.
-
In the Layout pane, locate the Outer Padding and Inner Padding settings.
-
Enter a value for the padding or use the arrows to increase or decrease the values.
-
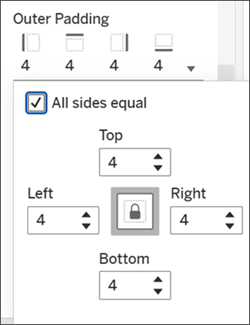
To give all sides the same padding, expand the dropdown menu and select All sides equal.
-
To specify different values for each side, deselect All sides equal and enter individual values for the top, bottom, left, and right sides.
Design tips for spacing your dashboard items
-
Customize side padding for precision: Deselect All sides equal to adjust padding for a single side, allowing you to align objects with pixel-perfect accuracy.
-
Eliminate gaps for seamless designs: Set outer padding to zero for adjoining items to create a unified, continuous look between layout elements.
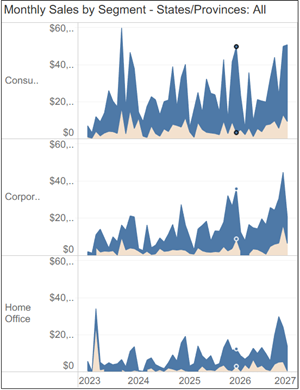
Inner padding set to 0.
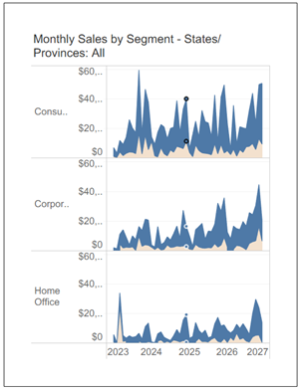
Inner padding set to 50.
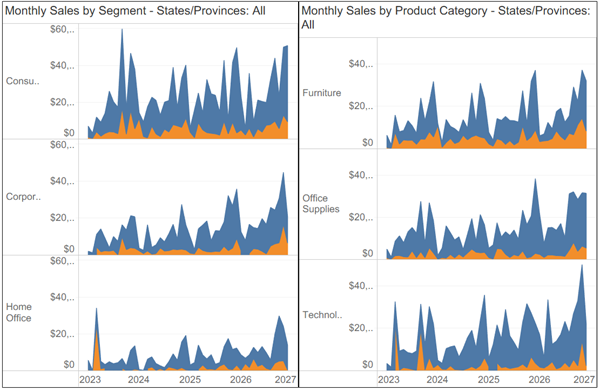
Outer padding with all sides for both dashboard objects set to 0.
Outer padding with all sides for both dashboard objects set to 20.
Add borders and background shading to a dashboard item
While padding helps to precisely space items on the dashboard, borders and background colors help to visually highlight them.
Note: If you can't change the border or background color for a particular dashboard item, change its formatting at the worksheet level.
-
Open a dashboard in Tableau.
-
Select the dashboard object that you want to modify.
-
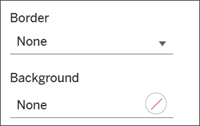
In the Layout pane, locate the Border and Background settings.
-
Select the desired border style, weight, and color.
-
Select the desired background color and opacity.
To learn more about sizing your dashboard objects and creating a polished, professional dashboard, see Size and Lay Out Your Dashboard.
-